
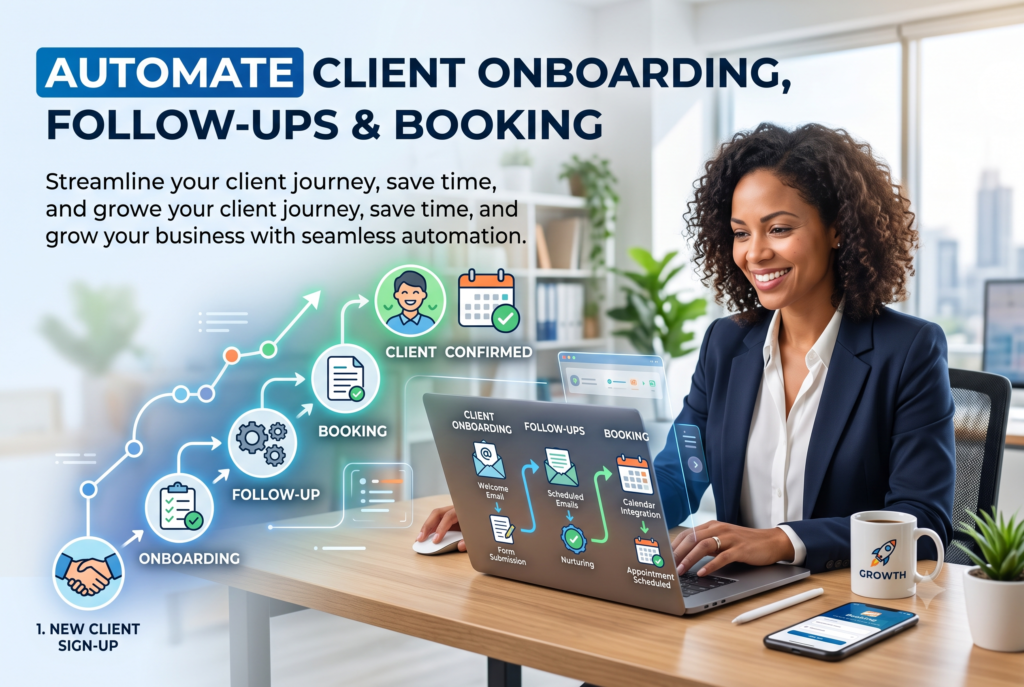
How to Automate Client Onboarding, Follow-Ups & Booking (Step-by-Step)
If you’re still onboarding clients by hand chasing signatures over email, arranging kickoff calls one message at a time, and hoping you remember to follow up you’re not behind. You’re just doing manual work that a connected system can do for you in minutes instead of hours.
This guide walks through exactly how to automate the three pieces that eat the most admin time in any service business: onboarding, booking, and follow-ups. It’s tool-agnostic the steps work whether you build it yourself with Zapier or Make, or have it built for you and it ends with a real follow-up cadence and tool-cost comparison you can use immediately.
What “Automating Onboarding, Follow-Ups & Booking” Actually Means
Most guides on this topic borrow their playbook from SaaS companies think 14-to-30-day nurture sequences designed to teach someone how to log into a product. That playbook doesn’t fit a service business.
When you run a service business an agency, a consultancy, a trades business, a clinic onboarding isn’t about teaching someone to use software over a month. It’s about locking in a job in days. You’re securing a signed scope, a deposit, and a calendar slot before the client’s attention moves on to something else. Drag that out to two weeks and you look disorganized, not thorough.
So the three pillars in this guide work together as one connected workflow, not three separate projects:
- Onboarding — collecting the right information and getting the contract signed without back-and-forth emails
- Booking — getting a kickoff call on the calendar the moment a client is ready, without a scheduling email chain
- Follow-ups — nudging, reminding, and checking in automatically so nothing depends on you remembering
By the end of this guide you’ll have a system where a new client goes from “yes” to “in progress” with almost no manual effort on your side — the same outcome a broader business process automation engagement is built to deliver.
Map Your Current Process Before You Automate Anything
The single most common mistake in this space is automating a process that was never clearly defined. If your steps aren’t mapped out, automation just turns a messy process into a faster, still-messy process and now it’s harder to fix because it’s running unattended.
Before you touch a single tool, write down the honest answer to three questions:
- What actually happens the moment a client says yes?
- Which steps repeat, in the same order, for every single client?
- Where do things usually stall the contract, the scheduling, the intake form?
A simple version of this flow looks like: Inquiry → Welcome email → Booking link sent → Call held → Proposal and contract sent → Contract signed → Kickoff scheduled → Onboarding follow-ups begin. Once that’s on paper, you’re automating a known process instead of guessing.
Step 1 — Automate Lead Capture & Intake
The workflow starts the moment a lead reaches you, so this is the first thing to wire up.
1. Put a capture form directly on your website.
Don’t rely on people finding your email address. An embedded contact or intake form feeding straight into your CRM means every lead is captured the same way, every time no lead lost in an inbox.
2. Keep the form short.
Ten to fifteen fields is the practical ceiling. Completion rates drop sharply past that point, so ask only for what you genuinely need to start name, contact details, project type, and budget range is usually enough for a first-touch form. You can gather the rest later, once someone is already a client.
3. Auto-create the CRM record on submission.
The moment a form is submitted, a new contact record should appear in your CRM automatically, tagged with whatever they told you service interest, budget band, source. No one on your team should be manually retyping this.
4. Match the tool to your stage.
A DIY form builder like Typeform or Jotform works fine if you’re gluing pieces together yourself. If you’d rather have intake, CRM, and the rest of this workflow live in one connected system from day one, that’s the kind of build a CRM automation engagement is designed to set up correctly the first time.
Step 2 — Automate the Welcome Sequence & Contract
Once someone is in your system, the next 24 hours matter more than any other point in the relationship. This is where trust is won or lost before any actual work has started.
1. Send the welcome email immediately, not “later today.”
A welcome message that goes out the moment a form is submitted or a deal is marked won feels instant and professional. The same message sent three hours later, once someone else notices it needs sending, feels like an afterthought and by then the client has often mentally moved on to comparing other options.
2. Auto-generate the contract with merge fields.
Use a template with dynamic fields client name, scope, price, start date pulled straight from the CRM record, so a ready-to-sign contract goes out without anyone manually editing a document each time. Tools like PandaDoc, DocuSign, or HelloSign handle this well.
3. Set an automatic reminder cadence for unsigned contracts.
If a contract sits unsigned, send a reminder at 24 hours and a second at 48 hours. Beyond that, a human should step in repeated automated nudges past two days start to feel like harassment rather than help.
4. Personalize with dynamic fields, not generic templates.
“Hi Sarah, thanks for signing up” beats “Dear Client” every time. It costs nothing extra to set up and it’s the difference between an automated message that reads as considered versus one that reads as a form letter.
Step 3 — Automate Booking & Scheduling
Booking is where most onboarding flows quietly lose people. The gap between “I’m interested” and “I have a call on the calendar” is exactly where leads go cold, so this step deserves the most attention.
1. Put the scheduling link on the very next screen the client sees not in a follow-up email.
Embed it directly on the intake form’s thank-you page, or on the confirmation screen right after a contract is signed. If you wait and send the booking link in a separate email later, conversion drops noticeably, because the client’s attention has already moved elsewhere. Don’t delay this step.
2. Auto-create the calendar event and meeting link the moment someone books.
When a slot is chosen, the calendar invite and the Zoom or Google Meet link should generate automatically, with all participants invited no one manually building a meeting afterward.
3. Send automatic confirmations and reminders.
A confirmation the moment a call is booked, plus a reminder shortly before it starts, meaningfully cuts no-show rates some reports put the reduction as high as 80%.
Here’s how the mainstream scheduling tools compare at small-business scale:
| Tool | Starting Price | Best For | Key Limitation |
| Calendly | Free tier; paid from ~$10–16/user/mo | Simple 1:1 booking, fast setup | Advanced routing/workflows need a higher tier |
| Acuity Scheduling | From ~$16/mo | Service businesses needing intake forms + payments at booking | Interface feels dated compared to newer tools |
| Cal.com | Free open-source tier; paid from ~$15/mo | Teams wanting more customization/self-hosting | More setup effort than a plug-and-play tool |
| Native CRM scheduling (HubSpot/Salesforce) | Bundled with CRM plan | Businesses already paying for that CRM tier | Often locked behind a higher-priced plan |
Once a slot is booked, that confirmation page is also the natural place to point people toward booking a call with your own team if they want the automation built for them rather than piecing it together themselves.
Step 4 — Automate the Follow-Up Cadence
This is the piece almost no guide gives you in concrete terms. Most say “automate your follow-ups” without saying when, how often, or what each one should actually say. Here’s a cadence you can copy directly:
| Timing | Trigger | Message Goal | Channel |
| Day 0 (immediate) | Form submitted / deal won | Warm welcome, set expectations, link to next step | |
| Hour 24 | Contract sent but unsigned | Friendly nudge “just checking you received this” | |
| Hour 48 | Contract still unsigned | Second, slightly firmer nudge | Email or SMS |
| Day 3 post-kickoff | Kickoff call held | Check-in confirm next steps are clear | |
| Day 7 | One week into the engagement | Satisfaction/progress check | |
| Day 30 | One month in | Review conversation, upsell or referral opening | Email or call |
Two rules worth keeping in mind as you build this out: segment the cadence by client type or engagement level rather than sending one blanket sequence to everyone, and keep the tone firm without tipping into desperate. One reminder after a day or two reads as helpful. Daily messages for a week reads as needy, and it can actually make a premium service feel cheap.
Track open rates, response rates, and how many follow-ups actually convert into a booked call the same behavioral data that powers a good lead generation and follow-up system should feed back into refining this cadence over time.
Step 5 — Connect Everything Into One Workflow
Individually automating each step above helps. Connecting them into a single workflow is where the real time savings show up, because nothing has to wait on someone noticing the previous step finished.
Every automated workflow, however it’s built, comes down to the same three pieces:
- Trigger — the event that starts things moving (a form submitted, a contract signed, a payment received)
- Condition — a rule that branches the path (route enterprise clients differently than solo clients, for example)
- Action — what the system actually does (send an email, create a CRM record, generate a contract, book a calendar slot)
You’ve got two realistic paths for building this:
| DIY Stack (Zapier/Make/n8n + point tools) | All-in-One Platform | |
| Typical monthly cost | $300–600+ once you add forms, e-signing, scheduling, CRM, and the connector tool | Often lower one subscription covers most of the stack |
| Setup time | 1–2 weeks to configure and test properly | Can be running within days |
| Maintenance | Higher more integration points, more things that can silently break | Lower fewer moving parts to keep in sync |
| Best for | Teams with a specific tool stack they’re already committed to | Businesses that want it working correctly without managing five subscriptions |
One important caveat: don’t automate everything. The discovery call, the kickoff conversation itself, and any complaint-handling should stay human that’s where trust actually gets built. Automation should remove the admin around the relationship, not replace the relationship.
If you’d rather skip the DIY-stack tradeoffs entirely, this is exactly the kind of system a done-for-you automation build sets up for you, with ongoing efficiency support to keep it running as your client volume grows.
How to Measure Whether Your Automation Is Actually Working
An automated system that looks impressive on paper isn’t worth much if it’s not actually saving time or improving the client experience. Track a handful of numbers to know for sure:
| Metric | What It Measures | Healthy Target |
| Time-to-onboard | Hours from signed deal to fully onboarded client | Under 24–48 hours |
| Intake form completion rate | % of clients who finish the form without needing a follow-up nudge | Above 90% |
| Kickoff booking rate | % of clients who book their kickoff call within 48 hours | Above 85% |
| Admin hours per client | Internal time spent on onboarding tasks | Under 30 minutes |
If your time-to-onboard is regularly running past 48 hours, the bottleneck is almost always the contract step, the form step, or a manual handoff between the two worth mapping into your broader growth strategy so it gets fixed rather than worked around.
Common Mistakes to Avoid
- Automating before mapping the process — this turns confusion into a faster-moving mess, not a fix
- Stacking too many disconnected tools that don’t talk to each other cleanly
- Long intake forms that quietly tank your completion rate
- No fallback when an automation silently fails — a client left stuck with no one noticing is worse than no automation at all
FAQ
What’s the best tool to automate client onboarding for a small business?
It depends on how much you’re already managing. If you’re gluing a few specialized tools together, Zapier or Make will connect them. If you’d rather have forms, contracts, scheduling, and follow-ups running natively in one system, an all-in-one platform (or a done-for-you build) removes the maintenance overhead of juggling several subscriptions.
How long does it take to set up client onboarding automation?
A basic system — intake form, contract, welcome email, and booking link — can be running within a day using the right platform. A fully custom stack built from several separate tools typically takes one to two weeks to configure and test properly.
Can I automate onboarding without any technical or coding skills?
Yes. Most modern platforms use visual, drag-and-drop workflow builders, and even Zapier’s interface requires no code. The real skill involved is documenting your process clearly before you try to automate it.
How do I keep automated onboarding from feeling impersonal?
Use dynamic fields so messages include the client’s actual name and company, keep the kickoff call itself human, and consider a short personal video welcome. Automation should handle the logistics — humans should still handle the relationship.
What should be in a client intake form?
Core fields: name, company, project goals, budget range, key stakeholders, communication preferences, and any files or access details you need up front. Keep it to 10–15 fields — longer forms measurably reduce completion rates.
How often should automated follow-ups be sent without feeling pushy?
A reminder after 24 hours and a second after 48 hours is generally well received. Daily messages beyond that point tend to read as desperate rather than helpful, especially for higher-value engagements.
If you’d rather have this whole system mapped and built for your business specifically, you can get in touch or set up a technical consultation to talk through what your current process actually looks like.